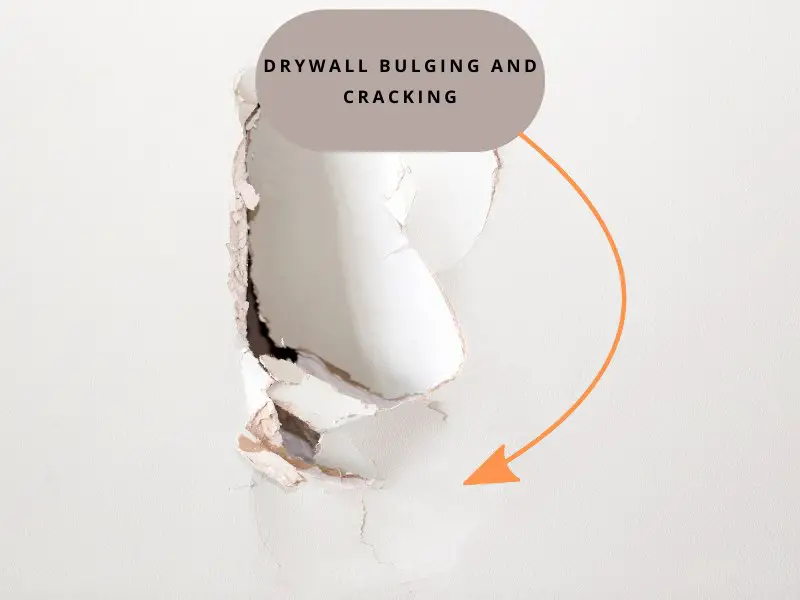
How to Fix Drywall Bulge [3 Repairs that Work]
Bulging drywall usually appears to have a hump or a visibly swollen area. These imperfections usually occur along drywall seams and can make your walls and ceilings appear imperfect. How can a drywall bulge be fixed?
A bulge in drywall can be caused by moisture damage, overdriven screws, or poor fastening. To fix the bulge caused by moisture, fix the water leak and replace the affected panel with new sheetrock. If the bending is caused by poor screwing and fastening, replace the screws making sure to install them correctly.
The thing with drywall is that it can get messy installing and finishing especially if you don’t have any experience working with it. A few imperfections here and there and the problem areas such as bulging seams, humps, and cracks will be very visible when you paint your walls and ceilings.
So, let’s first find out why your drywall is bulging and then go on and help you fix it easily.
Causes of a drywall bulge (in walls + ceilings)
A bulge in your drywall means that the installation was poorly done, or the integrity of the drywall itself is not good enough to hold its own weight.
Moisture damage
Although about 5-12% moisture content is normal in drywall panels, excess of it can cause drywall to bulge and appear imperfect. If you suspect that moisture is the cause behind the bending sheetrock panels, do a moisture test to see how much of it is in your ceiling or wall.
To check for moisture in your drywall installation, look at the wall to see if there’s any sign of discoloration around the bulge. Push the wall inside with your finger to check its integrity. If it is soft and spongy, then it is moisture-damaged.
A better way to test for moisture in your drywall is to use a moisture meter. I recommend the General Tools 4-In-1 Moisture Meter. Any moisture content of more than 1% in your drywall could be the cause of the bulging areas in your walls.
NOTE: If there are water leaks in your house, you might want to check for any plumbing issues and fix them first before repairing the bulging drywall. This will prevent any further damage to your ceilings and walls even after fixing the hump.
Loose installation
If you notice a bulge where two pieces of drywall panel meet, the cause is likely poorly fastened studs. The bulge is usually a sign that the weight of the panels is pulling them away from the studs.
Another possible reason for the bulge is if you used fewer drywall screws than required, or the wrong type or size.
The good news is that if sheetrock is bulging along the seams due to improper fastening, you can easily fix it by re-installing the screws or fastening them properly.
If insufficient fastening of drywall panels is the cause of your problem, jump right to its fix here.
Overdriven drywall fasteners
During the sheetrock installation process, the panels need rest securely on the studs before you drive your screws. A lot of things can go wrong here especially for newbie DIYers who are attempting to install drywall panels for the first time.
Even using the wrong drywall screw gun during the fastening process alone can damage the drywall paper. What happens next is that the moisture from the joint compound you’ll be using will penetrate into the sheetrock and start to cause humps and bulges.
If you drive screws too far into the drywall panel, you can cause the wall to be unstable and suffer from uneven weight distribution that leads to unevenness around and near the screws.
How do you fix a drywall bulge?
There are different ways to fix a drywall bulge with each depending on the actual cause. So, make sure you diagnose your wall or ceiling to determine what’s causing the small bulge.
Once you determine the cause, here are different ways to fix the bulge:
1. Replace the overdriven screws
If the wall or ceiling is bulging due to overdriven screws, the best solution is to remove those screws and replacing them with new ones. Here’s how to do it:
- Use a stud finder to locate the screws near the bulging area.
- Open up the area with a utility knife to expose the screws.
- Unscrew and remove the affected screws with a screw driver.
- Drive new screws (of the right size) about 1.5 inches away from ones you removed. Let them just sink below the surface of sheetrock to create a slight dimple. This is how you prevent overdriving the screws.
- Apply 2-3 coats of joint compound over the area, allowing each coat of drywall mud to dry first before the next.
- Smooth the surface with a fine-grit sandpaper.
- Apply a paint primer.
- Paint the area to match the color of the rest of the wall.
Note: My preferred stud finder tool that actually works is the CH Hanson 03040 Magnetic Stud Finder.
2. Fasten the drywall sufficiently
The second fix is to check if there are any loose screws that lead to the sheetrock panels pulling away from the wooden studs behind them. A common sign that goes with this is protruding drywall screws. If this is the case, you need to fasten the panel properly to provide enough support and fix the bulge that’s along the seams.
To fix drywall bulge, fasten the panels with an adequate number of screws (usually X per panel), ensuring that they’re spaced not more than 12 inches apart. If you’re using 4′ x 12′ sheets of drywall, ensure you install 50 screws to secure the panel properly and prevent bulging and bending.
3. Replace the Panel
If the bulging drywall area is too big to cut out and repair, the best solution is to replace the entire panel. This fix is preferable if the drywall panel is completely damaged by a plumbing leak causing water to pool behind the panel.
Water-soaked drywall loses its integrity easily and can become water-stained, mushy, and weak. Even patching it up might not fix the bulging problem satisfactorily as the drywall will start to crumble.
Therefore, the best solution is to first fix the water leak in your plumbing system and then replace the entire panel as a permanent fix.
To replace a bulged drywall panel, cut out and remove the damaged panel, measure, cut and attach a new panel, fill in the seams, even them out using joint compound, and allow the panel time to dry out. Sand the drywall to a good texture and paint it to match the rest of the wall.
Here’s a great video that will show you how to replace a damaged drywall panel after a water leak:
- Wallboard vs. Drywall – Differences
- Does Drywall Burn? Is it Flammable?
- How to Install Drywall Over Lath
- Lath and Plaster vs. Drywall – Differences
- How to Paint Over Drywall Mud
- Spackle vs. Joint Compound – Differences
RESOURCES
- University of Nebraska Lincoln Extension: Use Moisture Meters to Determine When Structures are Dried Out and Ready for Rebuilding
- Janie Harris, Housing and Environment Specialist, Texas A&M University, AgriLife Extension Service: Dry out before Rebuilding