How to Fix Noisy Ceiling Fan Bearings (Scraping + Grinding)
After some months or years of use, ceiling fans tend to produce various types of noises. The most common are humming, squeaking, rattling, grinding, and scraping sounds produced by the ceiling fan bearings inside the motor unit. If the fan produces a scraping or grinding noise, it might be a sign that the fan is a safety hazard in your home. So, how do you fix it?
The best fix for a noisy ceiling fan is to lubricate the bearings with oil. Remove the fan from the ceiling then open it up to access its bearings. Apply lubricating oil to the bearings chamber and spin the motor to distribute the oil. This will stop the grinding and scraping noises.
Check out some great industrial lubricants you can use to stop your fan from making noises. Also, read on to find out other causes of ceiling fan noises, as well as how to fix your noisy ceiling fan bearings.
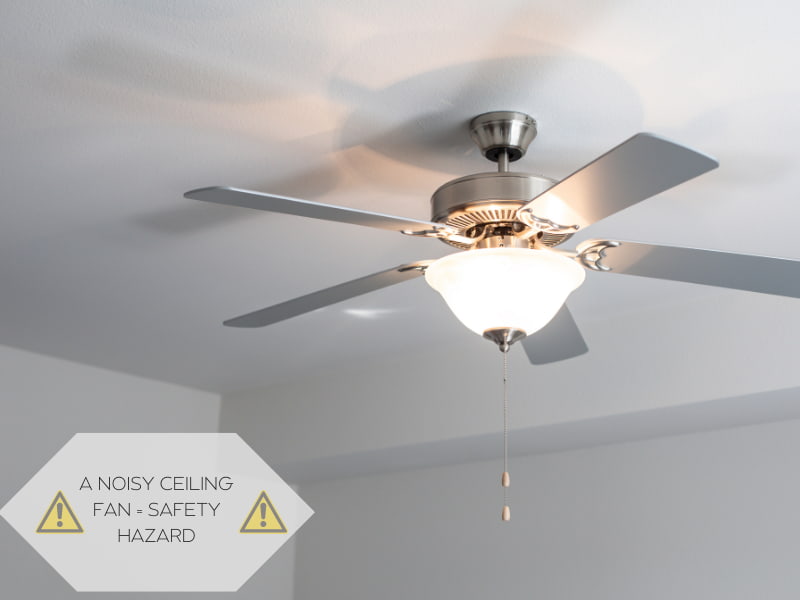
Is a noisy ceiling fan dangerous?
A noisy ceiling fan can be dangerous as it is a sign of a potential safety hazard especially if the source of the noise is the blades or the ceiling fan mount. Loose blades, for example, can fall off and cause physical injury an individual or pet.
Another potential injury risk is if the noise is due to the fan not being properly attached to its mount. If you observe any of the above, cut off the room’s power supply and undertake the necessary repairs to avert the risk.
Why does my ceiling fan make noise?
Most old model ceiling fans will make squealing, squeaky, rattling, grinding and scraping noises after a few years post-installation. This is usually a pointer toward lack of maintenance or just wear and tear. You want to keep an eye on the fan to make sure it is not a safety hazard in your home.
Here’s why your ceiling fan is producing squeaky noises:
Dirty or worn-out bearings
Whenever there’s a build-up of dirt and grime within the bearings in your fan’s motor, your fan may produce a humming or buzzing noise. This is due to increased friction as the moving parts rub against the non-moving parts of the motor. Fortunately, you can get rid of the buzzing sound by lubricating the ceiling fan bearings as I’ve explained in the next section of this article.
Loose Screws
If the screws that secure your fan blades to the motor are not tightly fastened, the fan may produce a rattling noise. The worst part of this is that loose screws continually weaken the attachment and cause damage to your ceiling.
If not repaired soon enough, loose fan screws can cause cracks in some types of ceilings and the cost of repair will be way higher as a result.
Ceiling fan mount
If the ceiling fan mount is directly attached to a ceiling joist, it’ll result in ceiling fan noises being transmitted to the joist. The ceiling joist then amplifies the noise, making your ceiling fun sound even noisier.
If at some point you hear some cracking noises in your ceiling, you might want to repair your ceiling fan to stop the noises.
Off-balance blades
If your ceiling fan blades are not properly aligned, or aren’t level, they’ll likely produce some noise. Additionally, dirt and debris on the blades may also cause them to shake and make noise. If this is the case with your ceiling fans, bend any warped blades into shape. You can also replace any off-balance blades to ensure all the blades have the same orientation.
Loose lighting fixtures
If your ceiling fan has a bulb that’s not firmly attached to it, this could be the source of the squeaky noise.
Dimmer Switches
If you’re using dimmer switches- rather than regular speed controls- to control the speed at which your ceiling fan rotates, your fan will most likely produce a humming sound. This can be quite irritating, especially at night if you’re trying to rest.
Faulty capacitors
Faulty ceiling fan capacitors usually result in low-voltage levels, which is detrimental to the normal functioning of the motor. As such, the motor may end up producing a humming sound.
Faulty receiver
For remote-controlled fans, there may be a humming noise if the receiver is faulty and doesn’t get a strong signal.
How to Fix Noisy Ceiling Fan Bearings
If you suspect that the humming noise coming from your ceiling fan is due to worn-out ball bearings within the motor housing, you can fix the issue by lubricating the bearings.
The problem is, while some types of ceiling fans have an oil hole, some don’t and have to be removed from the ceiling to access the sealed bearings. To properly detach your ceiling fan and oil its fan bearings, follow the procedure detailed below:
1. Turn off the electricity
Switch off the power supply from your home’s breaker box. This will cut off the supply of electricity to your ceiling fan so that you can safely work on it without any risk of electrocution. Turn on the ceiling fan. If it doesn’t come on, then you’re good to go.
Running a circuit tester through the ceiling fan wires will also let you know whether there’s electricity still being supplied to the ceiling fan or not.
2. Detach the ceiling fan blades
To reach the ceiling fan, climb up a stepladder. Then, using a screwdriver, unscrew the blades from the fan. If your ceiling fan has a lighting fixture on it, you should detach iit as well.
3. Remove the ceiling fan motor
After removing the fan blades and the lighting unit, remove the motor housing and unscrew the fan from the ceiling. Note that sometimes, the screws are usually not instantly visible and may be concealed behind an ornamental ring.
4. Disconnect the wires
After lowering the motor, disconnect the wires that connect the fan to the ceiling. To do this, unwrap the plastic caps that they connect into. With the motor now totally free from the ceiling, you can begin working on lubricating its bearings. Meanwhile, ensure to cover up the exposed ceiling wires with electrical tape.
5. Lubricate the Motor
Locate the bearings within the upper and lower sections of the ceiling fan motor. This is usually the point where the rotor meets the stator. After locating the bearings, apply 3-4 drops of electric motor oil for both the top and bottom bearings. After lubricating each section, rotate the motor about a dozen times. This will work in the oil into the bearings.
6. Reassemble the ceiling fan
Once the bearings within the motor have been properly lubricated, put the ceiling fan back together as it was before. First, reconnect the electrical wiring and reattach the canopy. Then, screw back the blades and lighting fixture onto the motor.
7. Test out the ceiling fan
With the ceiling fan now fully reinstalled, it’s time to test it out and check whether the noise problem has been solved. Turn the power supply back on within the breaker box and turn on the ceiling fan. The fan should be running smoother now with no noise.
If there’s still some noise you can follow the above steps to remove the fan and apply more lubricant. If your ceiling fan is well-oiled, you’ll notice that the blades continue to rotate for a while after the fan has been turned off.
Here’s a video guide to help you fix ceiling fan noises:
Types of Noises from Ceiling Fans
Rattling Noises
Ceiling fans make rattling sounds due to various issues. These include loose screws
Rubbing Noises
Your ceiling fan may produce a rubbing sound if the blade holders are incorrectly installed. Poor installation causes the blade holders to come into physical contact with the motor casing, resulting in rubbing noises.
Humming Noises
Sometimes, your ceiling fan will make a low-frequency, humming sound. This can be due to a variety of reasons, including an improperly tuned motor and worn-out lubricant.
Clicking Noises
If the screws that secure the ceiling fan blades to the motor housing are loose, you’ll likely hear the fan producing clicking sounds. Clicking noises may also occur if the blades are off-balance, are incompatible, or feature a manufacturing defect.
Grinding Noises
Your ceiling fan will make grinding sounds if there’s excessive friction and mechanical wear in the ball bearings situated within the motor unit. Another common cause of ceiling fan grinding noises is contact between the rotor and the stator.
Can you use WD 40 on ceiling fan bearings?
Although WD-40 is a multipurpose lubricant, it is not recommended for use on ceiling fan bearings because it can cause irreversible damage to the motor instead of loosening up the stuck parts.
When selecting the right lubricant for rolling element bearings, resistance to oxidation is usually an important factor. A lubricant with good oxidation is preferred as it will not form sludge or varnish. However, with WD-40’s poor oxidation resistance, you’ll likely have sludge build-up on your motor’s moving parts.
In addition, a good lubricant for ceiling fan bearings should have high viscosity. This is not the case with WD-40, which has moderate viscosity. It’s, therefore, unlikely to provide sufficient lubrication for such rolling element bearings.
Thirdly, lubricants that are designed for ceiling fan bearings typically contain rust inhibitors, as bearings are prone to corrosion. Unfortunately, WD-40 doesn’t contain any such rust-inhibiting ingredients or additives.
Finally, it also doesn’t contain any anti-wear additives, which is a common ingredient in the most effective ceiling fan lubricants. Using WD-40 for ceiling fan bearings may, therefore, result in adhesive wear. For the best results on noisy ceiling fan bearings, we recommend using NLGI Grade 2 or 3 grease instead of WD-40.